

The plugin is a software component enabling nopCommerce basic features extension. There is an official nopCommerce plugin marketplace distributing both free and paid plugins.
Plugins enable developers to add new features and/or customize a UI theme without modifying the nopCommerce source code. This is important for the stable running of a web application and for upgrading the nopCommerce platform to newer versions.
Official nopCommerce plugin development documentation can be found here .
Requirements Plugin development for nopCommerce would require prior experience with Entity Framework Core 2 and ASP.NET Core MVC 2, understanding of DI, IoC, and AOP, as well as familiarity with features and design of the nopCommerce platform.
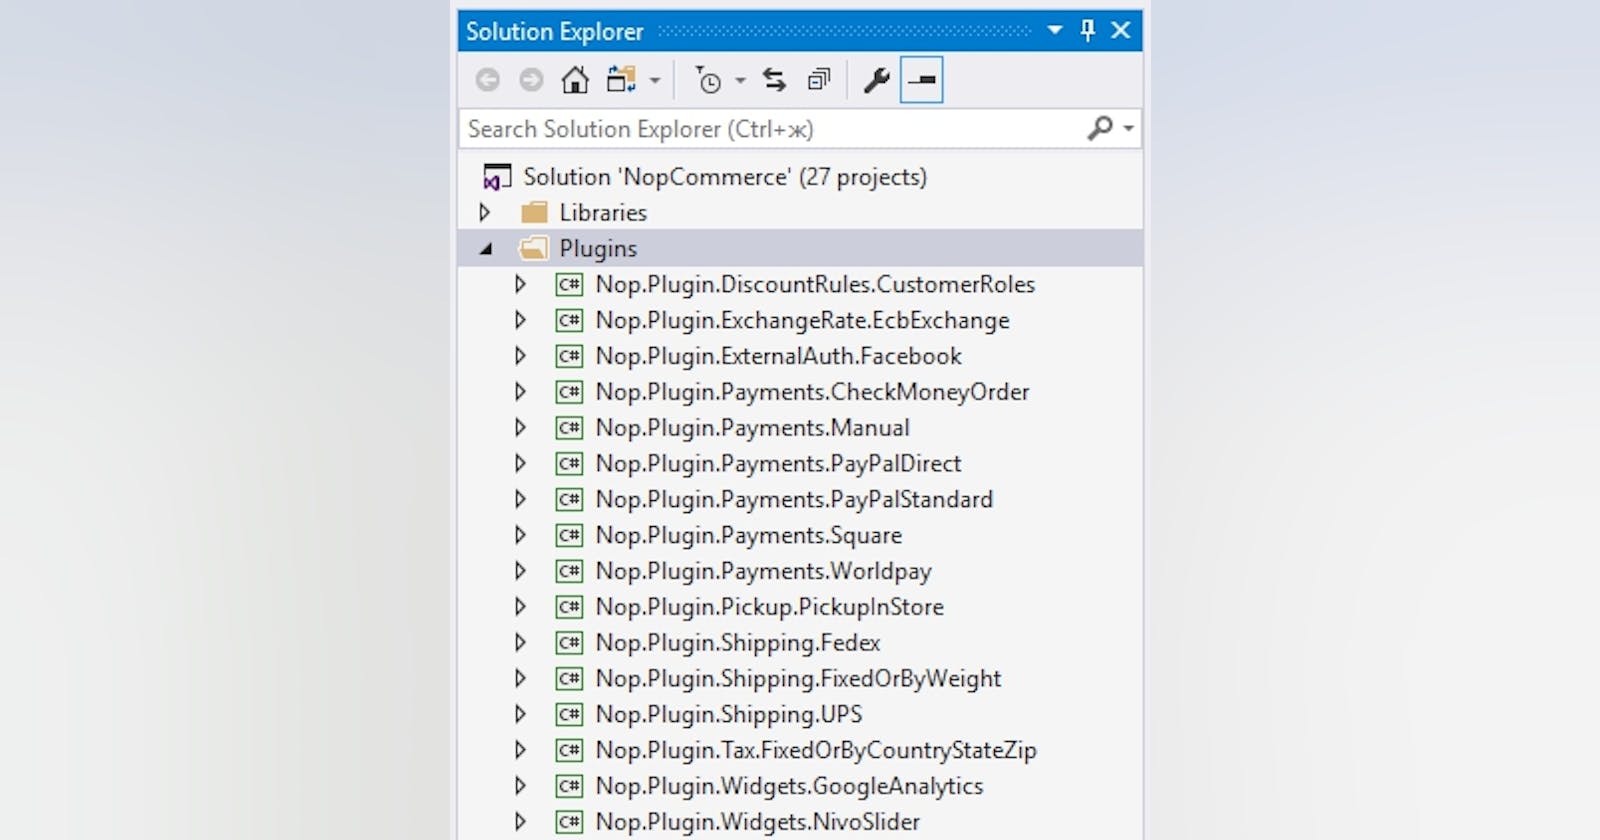
Steps Creating a project Step 1. A Class Library project template is used for plugin development. It is recommended to store a new project in the \Plugins solution folder.
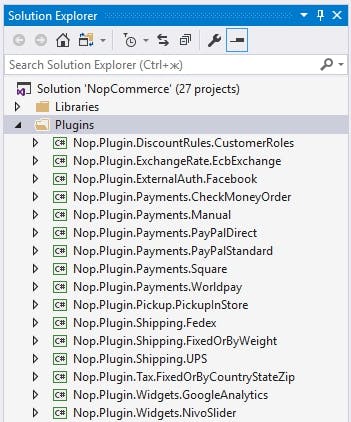
Naming conventions for plugin projects are the following: Nop.Plugin.{Group}.{Name}. e.g. Nop.Plugin. Payments.PayPalStandard. It is also common to use the following naming template: {Solution namespace}.{Name}Plugin. e.g. Company.Solution.PaymentMethodNamePlugin
Step 2. After creating a project, you should edit the *.csproj file by adding the PropertyGroup element to indicate the project’s output path and Target. Once the plugin project is created you have to open its .csproj file in any text editor and replace its content with the following one:
Step 3. Set Outputpath of that plugin by right click on it and go to properties->Build
Example of *.csproj file: value if PLUGIN_OUTPUT_DIRECTORY should match plugin’s name, e.g. Payments.PayPalStandard.

Step 4. In the file properties specify value Copy if newer for property Copy to Output Directory since it’s necessary to copy this file to /Plugins folder of the web application (Nop. Web) after it is built.
SystemName should be unique. The fileName should match a class library name.
Important note: After each project build, clean the solution before making changes. Some resources will be cached and can lead to developer insanity.
You may need to rebuild your solution after adding your plugin. If you do not see DLLs for your plugin under Nop.Web\Plugins\PLUGIN_OUTPUT_DIRECTORY, you need to rebuild your solution. nopCommerce will not list your plugin in the Local Plugins page if your DLLs do not exist in the correct folder in Nop.Web.
Plugins can be viewed, installed, configured, or uninstalled in the respective admin section:
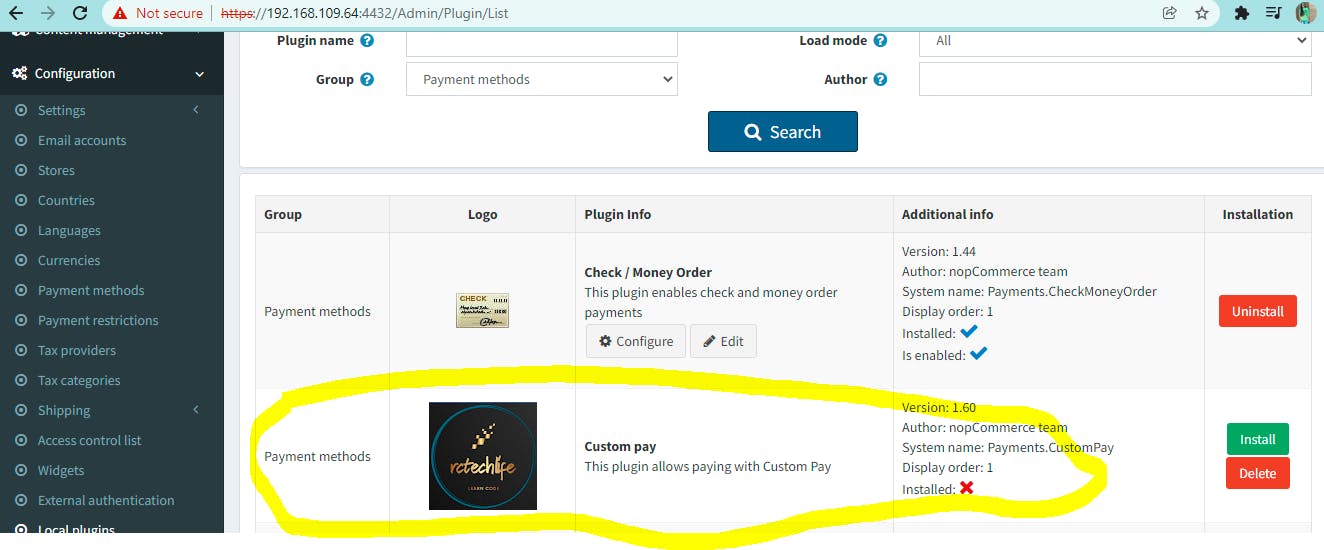
Standard settings of an installed plugin can be edited by clicking the Edit button.


If a plugin has user-defined settings unique to this plugin (see section User-defined plugin settings), the Configure button is available for editing these settings.
Logging While developing controllers, services, and tasks, it is recommended to use an inbuilt logging service Nop.Services.Logging.ILogger to log information and error messages.
For Detail demonstration, Check the Youtube Video: